

If you’re lucky enough to get your hands on a Hydrangea paniculata (AKA the one that looks like an ice cream), your garden will be blessed with buxom, head-turning blooms come midsummer. But how do you prune a Hydrangea paniculata in order to get the best, most self-supporting flower heads?
I visited Living Creations’ nursery in Boskoop, The Netherlands, to get the lowdown. This is a company led by Alex Schoemaker, and they have created a leading range of Hydrangea paniculata, under the Living Creations brand. Selected for 100 days of blooms, being super tough and hardy and lasting a lifetime.

They are specialists in Hydrangea paniculata, the super hardy hydrangea variety which is actually one of the easiest types of hydrangea to prune, cos you can’t get it wrong, whatever happens!
Hydrangea paniculata flower on first year growth, which is quite different to Hydrangea macrophylla types (you know, the ones which change colour depending on soil type). The H. macrophylla types flower on a bud which is actually developed in the previous year, so trimming them off at the wrong time means ZERO flowers.
In terms of culture, Hydrangea paniculata are also the most climate tolerant- plants can withstand extremes from heat to icy cold, and are even known to grow in Siberia.
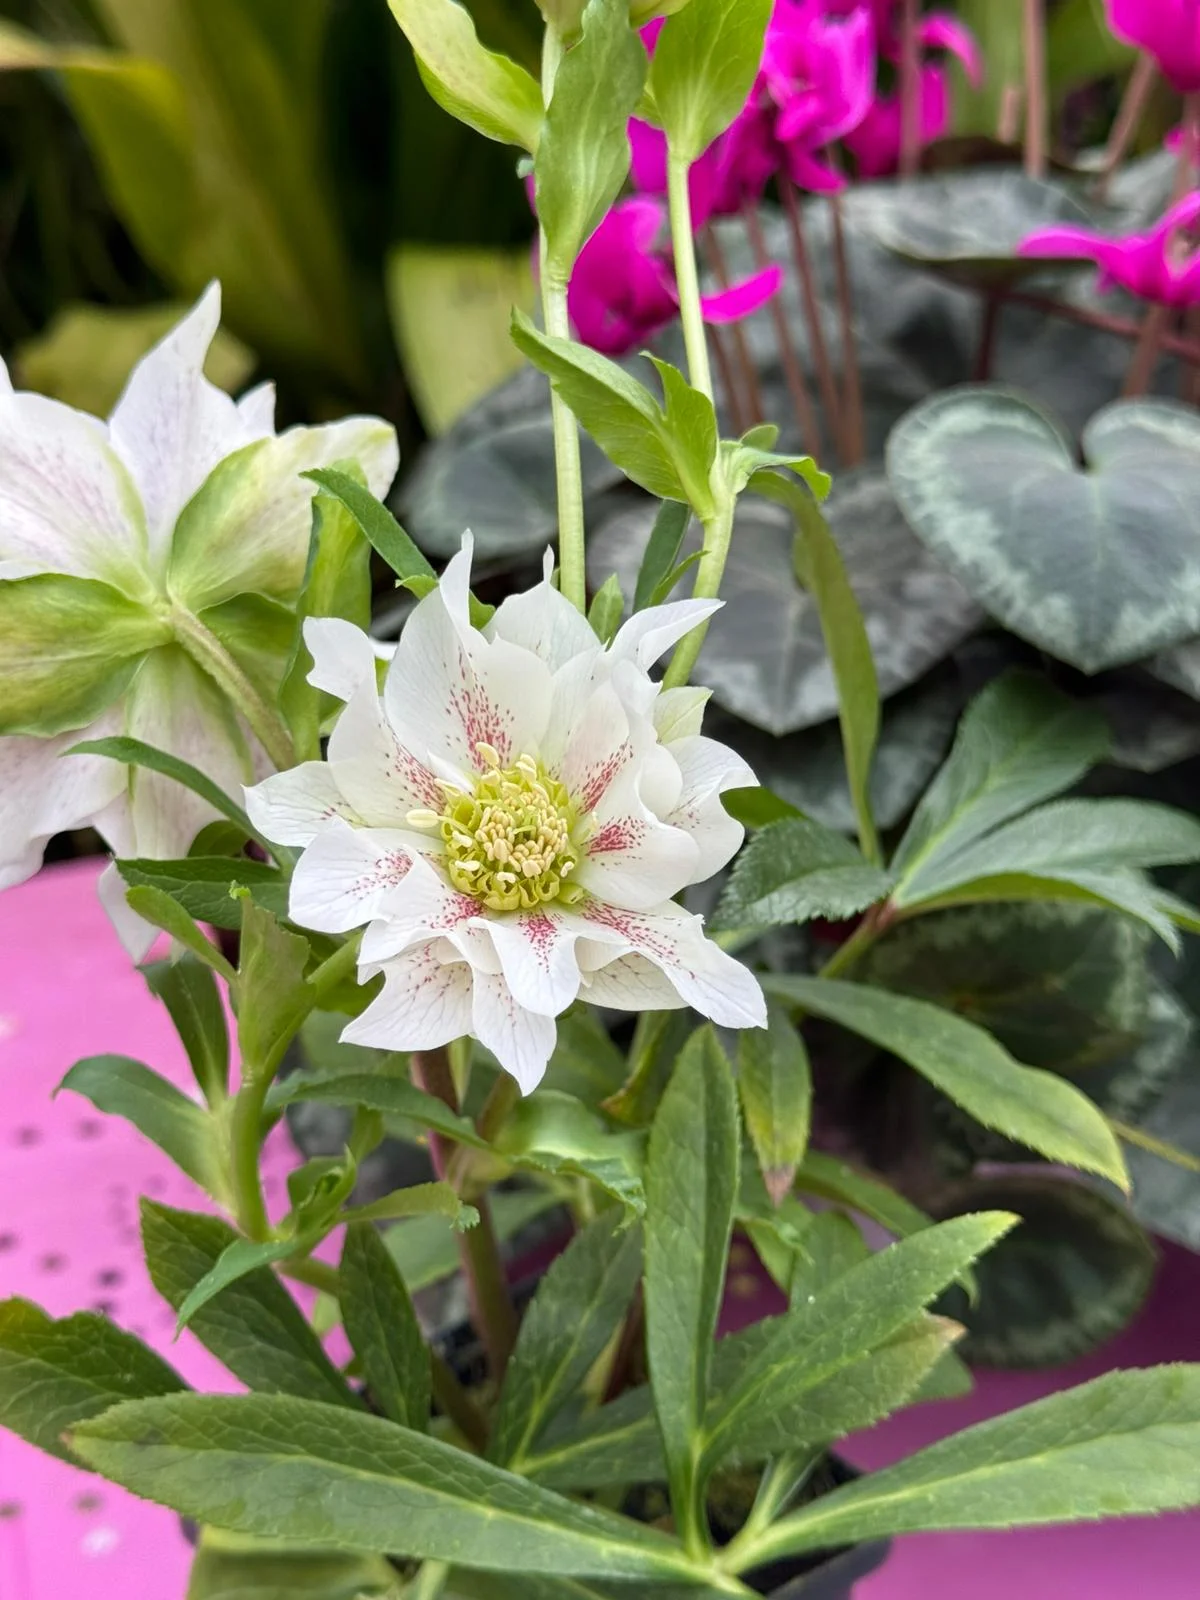
As you can see from the images in this article, Living Creations had plenty of hydrangeas which needed pruning – so I got to work with my secateurs!


First up, you don’t need to be too fussy about trimming near a leaf node, as Hydrangea paniculata is one of the toughest hydrangeas, and will grow well regardless, and you soon won’t see the old ends.
Commercially, on plant nurseries, they need to get pruning done quickly, so they’ll often just grab a whole bunch of stems, then cut!

In general terms, the harder the prune, the larger the blooms, but you’ll get less of them.
I’ve inserted a handy flower count guide beside each pruning method down below:

Option 1: Give plants a lazy, light prune


Basically, the strength of the plant is divided across the plant, giving a very natural look.
Trim the plant just below each flower head, basically ‘dead-heading’ the plant.
This tidies up the hydrangea and encourages the stems to grow a bit more, so that the plant will eventually be a little taller – remember that Hydrangea paniculata can grow up to two metres in height!
Rough guide; blooms on a mature plant: 40

Option 2: Give plants the medium prune


On the nursery, they use this method quite often, as it gives a controlled, yet natural look to the plant, with medium sized flowers, and fresh growth each season.
Take out your measuring tape for this pruning option – as you’ll trim all your hydrangea stems to about 40cm above the ground.
Rough guide; blooms on a mature plant: 30
Option 3: Give plants a very brave, deep prune


You’ll get less blooms than the light or medium prunes, but they will be real showpiece blooms, like a drag queen on a catwalk.
This is the most effective option for getting the best out of your hydrangea plant, and will encourage plants to stay better shaped and a little more compact. It’s best for when you’re growing in patio containers.
With a hard prune, you need to be brave and cut your hydrangeas to around 20cm above ground. Just like that!
Rough guide; blooms on a mature plant: 20

Another option: Do nothing!

If you really don’t feel like grabbing your secateurs and getting out in the garden, you really don’t have to! This is the easiest option, and it will actually give quite unique results. Your hydrangeas will re-flower regardless.
However, because you’re leaving the old flower heads on the plant, the plants won’t be prompted to create big flowerheads, so those produced will generally stay smaller in size.
Plants will also get super tall, almost tree-like, with gnarly branches. I quite like the sound of this vibe. Plants will also be in their most natural state, so will flower earlier than your pruned specimens.
Every 5 years or so: Go drastic!
Once plants have matured, every few years, you may want to give your plant an even harder prune, getting right down to the base.
Because the branches are much more dense here, you may need a pruning saw to help you get through them. It will refresh your plant, so don’t be scared!

When to prune Hydrangea paniculata
Hydrangea paniculata should be pruned in SPRING wherever you are – around the end of March to April, if you’re based in the UK.
Delaying your prune is also a great idea for insects, who might be hibernating within the flowerheads. Plus, you get to enjoy the beauty of flowerheads covered in frost and snow over the winter months!
However, if you live in a hotter climate, a later prune (up to May) can benefit you, as the blooms will arrive later and last longer.
You could also try this in cooler climates, to manipulate your blooms into giving a later summer showcase.
With young plants, you should start your pruning regime after one full season of growth.
What about frosts though?
You won’t have to wait until after the frosts, as Hydrangea paniculata can handle some night frosts when the leaves are still wrapped and in bud, and besides, they start growing later in the season than a few other plants anyway.
Even if you’ve pruned your plants and they get damage from a surprise frost, they’ll start growing all over again below the damaged foliage. So no need to worry!
When is it too late?
It’s too late to prune once you see the first leaves, usually around May.
Pruning at that time might deprive you of flowers, as you’ll disturb the photosynthesizing of the plant, as basically you’ll be cutting all the leaves off. Put the secateurs down, and embrace the natural look!

Here’s Alex from Living Creations giving me the pruning lowdown!

Michael has been involved with gardening and plants since he was just five years old. He is a self-professed Plant Geek, and was listed in the Sunday Times top 20 most influential people in the gardening world, thanks to his plant hunter role at Thompson & Morgan.
Michael was responsible for new plant introductions such as the Egg and Chips plant and the FuchsiaBerry and keeps busy travelling the world in search of new plants as well as lecturing worldwide, including stints in Japan. He is very active on social media – so why not give him a follow at @mr_plantgeek or Facebook – and writes a plant-focused Substack called Grow This, Not That.


Leave a Reply